
The new Apple TV 4 is the latest version, released in April 2017. It has a new remote, new UI, and includes Siri; however it is still not possible to install Kodi on it. This tutorial explains how to install Kodi on the new Apple TV 4, and includes steps to set up Kodi on your Apple TV 4 easily, with full remote control from your TV or your iOS device.
If you are already using Kodi and want to be able to play on your new Apple TV 4, you can follow this guide which will show you how to install Kodi on your new Apple TV 4. It is actually very simple to set up because the process is similar on all Apple TV devices, and there are no extra downloads required. Just download the free app, and follow the simple instructions below.
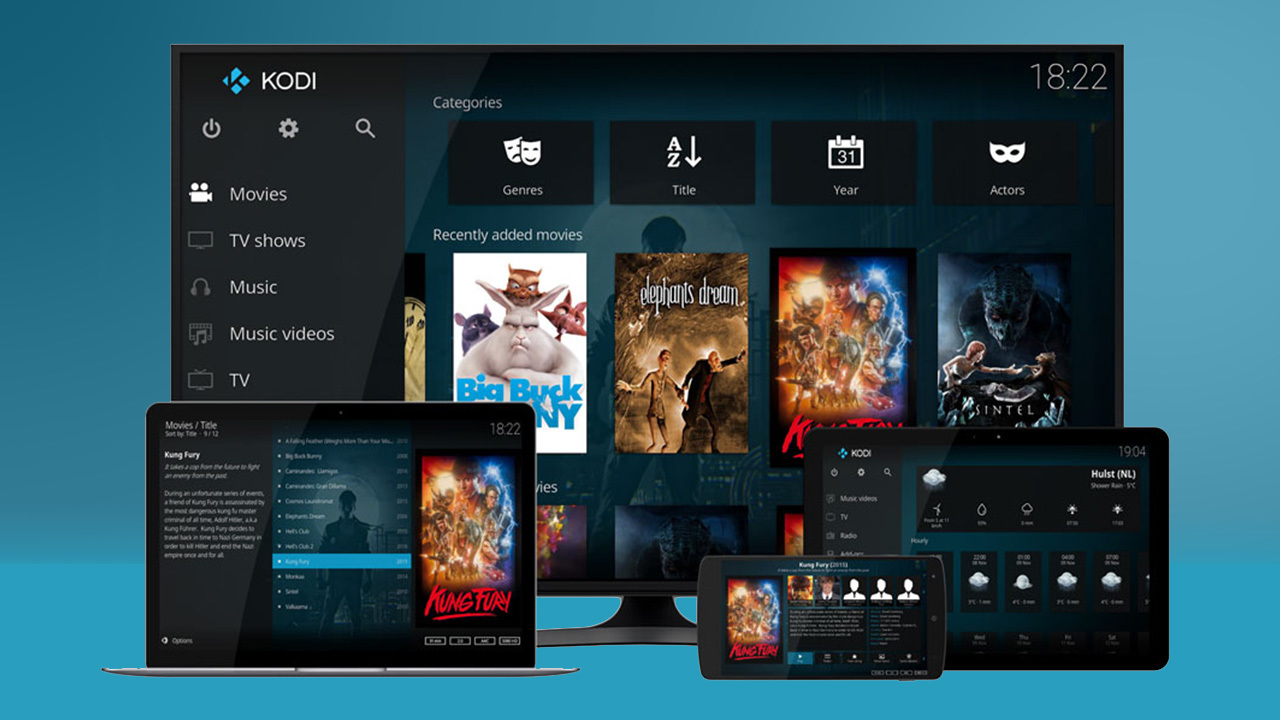
Kodi is a very popular open source media player, available for any device or operating system, and offers something different from the usual standard media players. Personalization is the key. With many third-party add-ons, you can watch live TV, watch the latest videos and listen to music on Kodi.
Although Kodi cannot be downloaded from the App Store, we can provide you with a method to install Kodi on your second or fourth generation Apple TV.
About Kodi
Kodi was previously known as XBMC (Xbox Media Center). It is a completely free open source media player available for all operating systems and hardware platforms like iOS, TV, Android, Windows, Mac, Amazon Fire TV and many more.
Kodi allows users to watch videos, listen to music directly from the Internet, and view media files from local or network storage. While users can use AirPlay to watch content on Apple TV through their iOS device, Kodi offers something completely different.
With a little customization and a variety of add-ons, users can find content through Amazon Prime Instant Video, YouTube, Spotify, and Pandora. There are many apps that allow Kodi users to watch live streaming TV, with EPG and PVR support.
Installing Kodi on a Fourth Generation Apple TV

It’s not as easy as installing the app from the App Store, but all it takes is some knowledge and of course a Mac (doesn’t apply to PCs) to install Kodi on your 2015/four generation Apple TV.
Before proceeding, you need to download the following software to install Kodi on your fourth generation Apple TV.
- iOS App Signer Utility for Mac (available for free)
- The most advanced Kodi .deb file for TV (available for free)
- Xcode 8 or higher (also available for free)
- Apple Developer Account (free and active)
You will also need a USB-C to USB-A cable. Now that you have the cable and have downloaded the above apps, follow the steps below to install Kodi on your fourth generation Apple TV;
To Install Kodi on Your New Apple TV

- Connect your Apple TV 4 to your Mac with the aforementioned USB-C to USB-A cable.
- Now that your Apple TV is connected, switch to the latest version of Xcode and open Create a new Xcode project from the main menu. Open the Application option in the TV section on the left side of the window. Now select Single View Application and click on the Next option.
- In the next step, you need to specify the new project option. You must assign a product name and an organization name (of your choice) to the project. Make sure you enter the package ID. Grouped IDs usually have a reverse domain name, but you can also make one up. Now that you have filled in all the fields, select Next and save the project in a convenient location for future reference.
- If you see an error in the main window of Xcode that informs you that the program cannot find a suitable deployment profile. Click on the Fix Problem button and the program will fix the problem itself.
- To resolve this issue, you need to go to your Active Developer account and sign in with the Apple ID associated with your Developer account. Click on the Add option and log in with your email address and password. All you need to do is select your Apple ID from the drop-down list and choose Select to continue. Xcode solves the problem and generates a deployment profile based on your personal developer account.
- Now that the issue is resolved, the next step is to select Apple TV from the drop-down list at the top of the Xcode window (which is present with the Play and Stop options at the top left).
- Now open the iOS App Signer app and click on the corresponding signing certificate in the drop-down list. Perform the same procedure for the Provisioning Profile field by selecting the name of the project created in Xcode. The input file now asks for a Kodi .deb file, so click Browse and select the file you downloaded earlier. Complete the Application Display Name field if you want to change the name of the application on the Apple TV home screen.
- After filling in all the required fields, select the Start option. The iOS Signer app creates an IPA file from the Kodi .deb file installed on the Apple TV.
- In Xcode, click Window> Devices and select Apple TV from the list on the left. Press the + option under Installed apps.
- The final step is to locate and then select the IPA file created in the iOS Signer app.
You now have full access to Kodi on your fourth-generation Apple TV.
Frequently Asked Questions
Can you download apps on Apple TV 4th generation?
Yes, you can download apps on Apple TV 4th generation.
How do I add VPN to Kodi on Apple TV?
To add VPN to Kodi on Apple TV, follow these steps: Open the Settings app on your Apple TV. Select General. Select Network. Select VPN. Select Add VPN. Select Add VPN Connection. Select VPN Provider. Select OpenVPN. Enter your VPN username and password. Select Save.
How do I add VPN to Kodi on Android TV? To add VPN to Kodi on Android TV, follow these steps: Open the Settings app on your Android TV. Select Network. Select VPN. Select Add VPN. Select Add VPN Connection. Select VPN Provider. Select OpenVPN. Enter your VPN username and password. Select Save. How do I add VPN to Kodi on Amazon Fire TV?
To add VPN to Kodi on Amazon Fire TV, follow these steps: Open the Settings app on your Amazon Fire TV. Select Network. Select VPN. Select Add VPN. Select Add VPN Connection. Select VPN Provider. Select OpenVPN. Enter your VPN username and password.


